Ingredients
Method
- Remove Pillsbury pie crusts from the refrigerator about 15 minutes before use to allow dough to become pliable.
- Preheat oven to 375°F (190°C).
- Lightly grease a standard pie dish.
- Carefully unroll one pie crust and fit it into the prepared pie dish, gently pressing into the bottom and sides. If cracks appear, pinch the dough to seal.
- Prepare your filling: In a large saucepan over medium heat, melt the butter. Add chopped onion and sauté until softened, about 5-7 minutes. Stir in the flour and cook for 1-2 minutes, creating a roux.
- Gradually whisk in the chicken broth and milk (or cream) until smooth. Bring to a simmer, stirring constantly, until the sauce thickens, about 5-7 minutes.
- Remove from heat and stir in the cooked chicken, mixed frozen vegetables, salt, and pepper. Mix well to combine.
- Pour the prepared filling into the pie crust-lined dish, ensuring it’s evenly distributed. Leave about half an inch of space between the filling and the top edge of the crust.
- Unroll the second Pillsbury pie crust and carefully lay it over the filling.
- Use a sharp knife to trim any excess dough hanging over the edge of the pie dish.
- Pinch the edges of the top and bottom crusts together to seal, using your fingers for a rustic look or a fork for a decorative finish.
- Using a sharp knife, cut 3-4 small slits in the top crust to allow steam to escape while baking.
- For a golden finish (optional), brush the top crust with a beaten egg or milk.
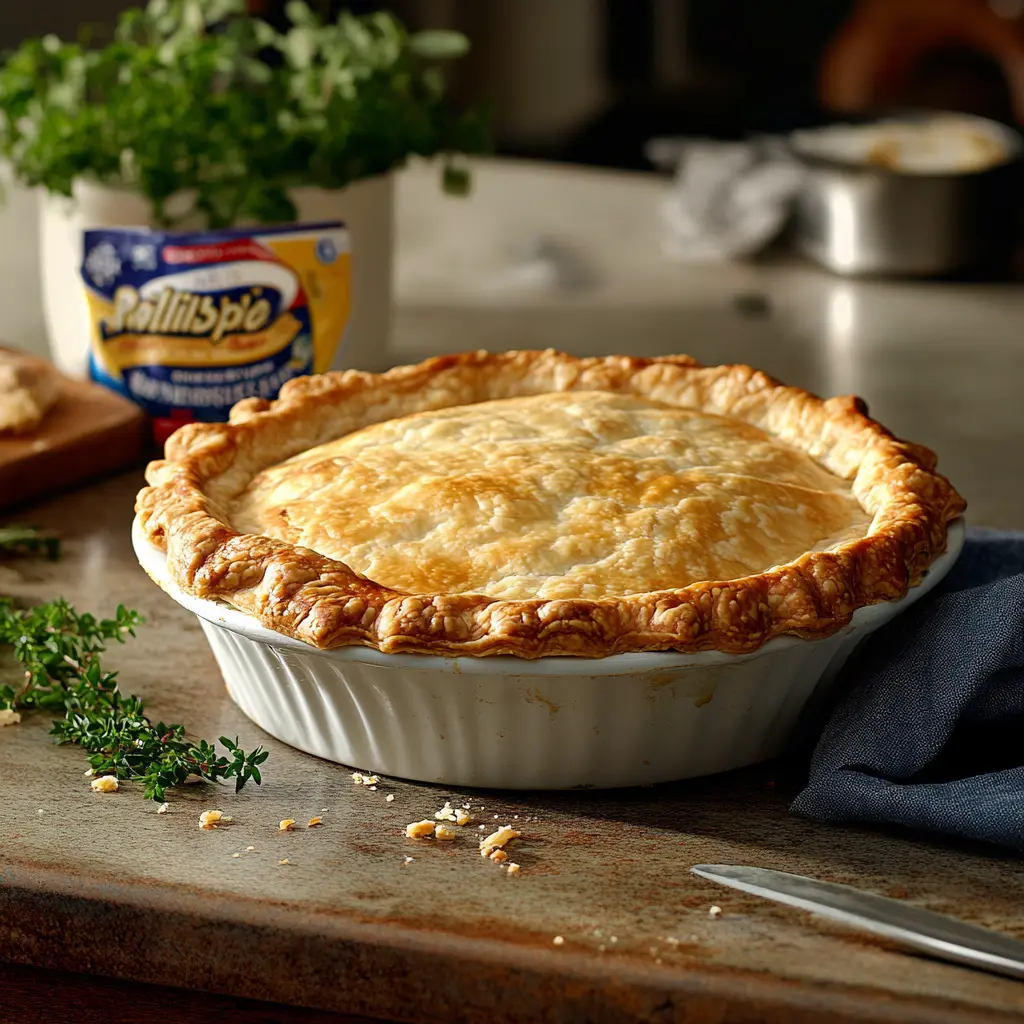
- Place the pot pie on a baking sheet (to catch any drips) and bake for 30-40 minutes, or until the crust is golden brown and the filling bubbles through the steam vents.
- Let the pie cool for about 5-10 minutes before serving to allow the filling to set and prevent burns.
Notes
To prevent a soggy bottom crust, consider blind baking the bottom crust for 10 minutes at 375°F before adding filling, ensuring the filling is thick, or brushing the bottom crust with a thin layer of beaten egg as a moisture barrier.
If using frozen Pillsbury pie crusts, thaw them in the refrigerator for a few hours before use and handle gently to prevent cracking. Baking time might need a few extra minutes.
To prevent crust shrinkage, refrigerate the pie crust in the dish for 15-20 minutes before baking to relax the dough, and avoid overstretching when fitting it into the dish.
If the crust browns too quickly, cover the edges with a pie shield or aluminum foil strips, place the pie on a lower oven rack, or reduce oven temperature by 25°F (15°C) and extend baking time.
Chicken pot pies made with Pillsbury pie crusts freeze well. Assemble and freeze unbaked for up to two months (bake from frozen at 375°F for 50-60 minutes), or bake, cool completely, wrap, and freeze (reheat from frozen at 375°F for 30-40 minutes).