Ingredients
Method
- Preheat your oven to 325°F (163°C). Prepare boiling water for the bain-marie (water bath).
- Heat the Cream: In a medium saucepan, pour the heavy cream and add the vanilla (either split vanilla beans or a teaspoon of vanilla extract). Heat over medium-low heat until the cream is hot but not boiling (look for small bubbles around the edges). Remove from heat and let it steep for 5–10 minutes to infuse the flavor.
- Mix the Egg Yolks and Sugar: In a mixing bowl, whisk together the egg yolks and granulated sugar until the mixture becomes pale yellow and slightly thickened. Whisk gently to avoid incorporating too much air.
- Temper the Egg Mixture: Slowly pour a small amount of the warm cream into the egg mixture, whisking constantly to avoid cooking the eggs. Gradually add the rest of the cream, continuing to whisk.
- Strain the Custard: Pass the custard mixture through a fine sieve into a clean bowl to remove any impurities and create a silky texture.
- Prepare the Ramekins: Arrange your ramekins in a deep baking dish or tray, ensuring there’s enough space between them for even heat distribution.
- Fill the Ramekins: Pour the strained custard mixture into the ramekins, filling them about three-quarters full.
- Set Up the Water Bath: Carefully pour hot water into the baking dish until it reaches halfway up the sides of the ramekins. This helps the custard bake gently and evenly.
- Bake to Perfection: Place the dish in the preheated oven (325°F or 163°C). Bake for 35–45 minutes, or until the edges are set but the center still jiggles slightly when shaken. Avoid overbaking to prevent cracking or curdling.
- Cool the Custard: Remove the ramekins from the water bath and let them cool to room temperature. Cover each with plastic wrap and refrigerate for at least 4 hours, or preferably overnight, to fully set the custard.
- Prepare the Sugar Layer: Sprinkle an even layer of fine granulated sugar (about 1–2 teaspoons) over the surface of each chilled custard. For even coverage, tilt the ramekin and gently tap to distribute the sugar.
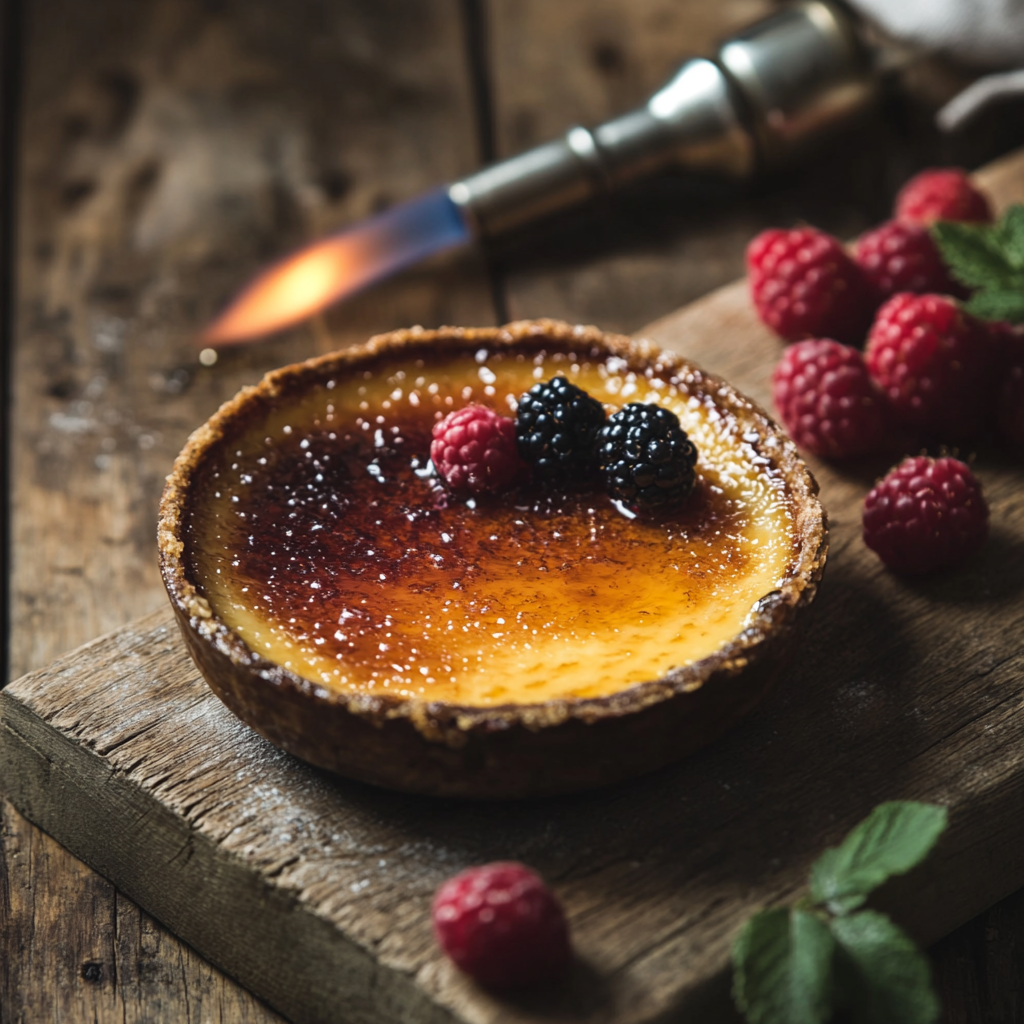
- Use the Blowtorch: Ignite your blowtorch and hold it about 1–2 inches from the sugar surface. Move the flame in a slow, circular motion to melt the sugar evenly. Watch closely as the sugar transforms into a golden, glass-like crust.
- Cool Briefly: Allow the caramel to harden for about 1–2 minutes before serving. The crust will cool into a crisp layer that cracks under a spoon.
Notes
Crème brûlée is best enjoyed immediately after torching, as the contrast between the warm caramel crust and the chilled custard creates the ultimate dessert experience. Pair it with fresh berries or a drizzle of fruit coulis for added flair.
For consistent results, ensure your cream remains below boiling when heating and use an oven thermometer for accurate baking temperature. Allow the custard to chill thoroughly, preferably overnight, for a stable base before torching. Whisk ingredients gently and strain the custard to minimize air bubbles.
Experiment with flavors by adding citrus zest, spices (cinnamon, star anise, cardamom), melted chocolate, liquors (Grand Marnier, Amaretto), or fruit purees to the cream.
Troubleshooting:
- Runny Custard: Likely undercooked. Ensure edges are set and center jiggles slightly.
- Cracked Custard: Overbaking or too high temperature. Use a water bath and monitor closely.
- Burnt Sugar Crust: Excessive torching or uneven sugar. Move the torch continuously and use a thin, even layer of sugar.
- Soggy Top Layer: Humidity softening the caramel crust. Serve immediately after caramelizing.
If you don’t have a blowtorch, you can use your oven’s broiler setting. Place ramekins on a baking tray, sprinkle with sugar, and broil until caramelized, watching closely to avoid burning. Caramelizing irons are also a traditional alternative.
Crème brûlée can be prepared up to 2 days in advance; bake and refrigerate the custard without the caramelized sugar topping, and torch just before serving. A bitter crust results from burning the sugar; move the torch in a circular motion and stop when it reaches a golden amber color.
While freezing crème brûlée is not ideal for texture, you can freeze the baked custard (without the sugar topping) in airtight containers. Thaw overnight in the refrigerator and torch the sugar topping before serving.
For a dairy-free version, substitute heavy cream with coconut cream, almond milk, or oat milk, noting that texture and flavor may vary slightly.