Ingredients
Method
- Prepare the Crust: Preheat your oven to 350°F (175°C).
- Line your baking dish: Use a 9x13-inch baking pan. Line it with parchment paper, leaving an overhang on the sides. This makes lifting the bars out much easier.
- Combine dry ingredients: In a large bowl, whisk together 2 cups all-purpose flour, 1/2 cup granulated sugar, and 1/4 teaspoon salt.
- Cut in the butter: Add the cold, cubed butter to the dry ingredients. Use a pastry blender, two knives, or your fingertips to cut the butter into the flour mixture. Mix until the mixture resembles coarse crumbs. Some pea-sized pieces of butter are fine.
- Press into the pan: Firmly press the crumb mixture evenly into the bottom of your prepared baking pan. Make sure it forms a compact layer.
- Bake the crust: Bake for 18-20 minutes, or until the edges just begin to turn golden brown. Remove from the oven and set aside while you prepare the filling.
- Make the Lemon Filling: In a medium bowl, whisk the 4 large eggs until lightly beaten.
- Add remaining ingredients: Gradually whisk in 2 cups granulated sugar, 1/4 cup all-purpose flour, 1/4 teaspoon salt, 2/3 cup fresh lemon juice, and 2 tablespoons lemon zest. Whisk until the mixture is smooth and well combined.
- Pour over crust: Carefully pour the lemon filling over the warm, pre-baked crust.
- Bake the bars: Return the pan to the oven. Bake for an additional 20-25 minutes, or until the center is set and no longer jiggles when you gently shake the pan. The edges may turn a slightly darker yellow.
- Cool completely: Remove the pan from the oven. Let these classic lemon bars cool completely at room temperature on a wire rack. This step is crucial for proper setting. Then, transfer the pan to the refrigerator and chill for at least 2 hours, or preferably overnight.
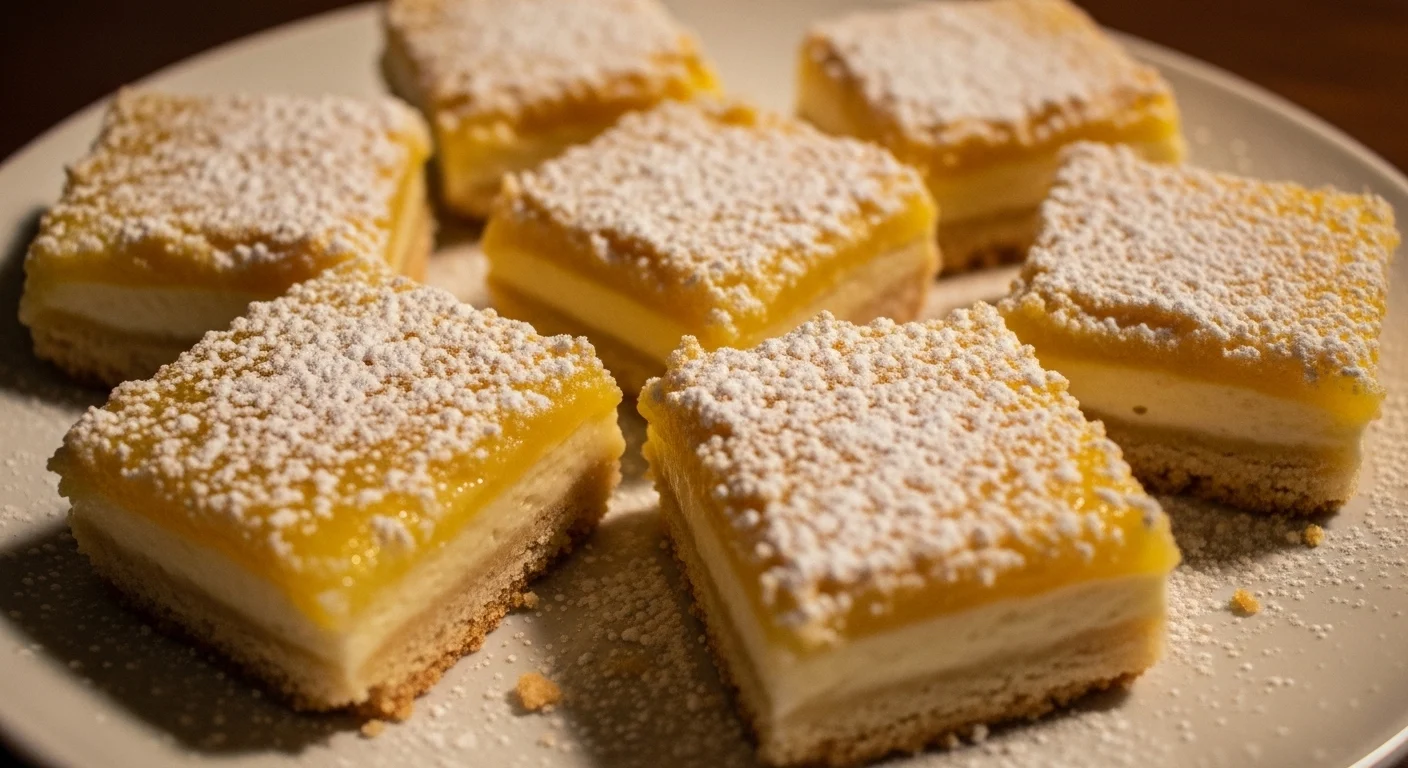
- Cut and dust: Once thoroughly chilled, use the parchment paper overhang to lift your homemade lemon bars out of the pan. Place them on a cutting board. Dust generously with powdered sugar just before serving. Slice into squares using a sharp knife. Clean the knife between cuts for neat edges.
Notes
Pro Tips for Success:
1. Always use fresh lemons for both juice and zest.
2. Ensure your butter for the crust is very cold.
3. Do not overbake the filling; the center should still have a slight "jiggle."
4. Let the bars cool completely at room temperature before chilling them.
5. For beautifully clean slices, use a hot, sharp knife.
6. Dust your beautiful lemon bars with powdered sugar just before serving.
Storage & Reheating Tips:
1. Store cooled and cut lemon bars in an airtight container in the refrigerator for up to 5-7 days.
2. Place parchment paper between layers if stacking to prevent sticking.
3. For longer storage, freeze cut bars in a single layer until firm (1-2 hours), then transfer to a freezer-safe airtight container or bag for up to 3 months.
4. Thaw frozen lemon bars in the refrigerator overnight or at room temperature for a couple of hours before serving.
5. No need to reheat; they taste best chilled or at room temperature.