
How to Make Protein Chips at Home? Protein chips have become a popular snack for fitness enthusiasts, those on high-protein diets, and anyone looking for a guilt-free crunch. Unlike traditional chips, which are typically high in carbohydrates and fats, protein chips provide a protein-packed alternative that can help you stay fuller longer. They’re versatile, satisfying, and perfect for curbing cravings without compromising your health goals.
But why buy expensive store-bought versions when you can easily make them at home? Homemade protein chips allow you to control the ingredients, tailor the flavors to your liking, and even save money. With the right recipe, you can whip up a batch of these nutrient-dense snacks in no time, ensuring they’re free from preservatives and unnecessary additives.
Homemade protein chips are not only healthier but also customizable to fit various dietary needs, such as vegan, keto, or gluten-free. Plus, making them is a fun and rewarding process that lets you experiment with unique flavors and textures. Let’s dive into the steps, tools, and tips you need to start crafting your protein chips at home.
Ingredients Overview How to Make Protein Chips at Home
Common Protein Chip Ingredients
Making protein chips at home starts with selecting the right ingredients that balance flavor, texture, and nutrition. Here’s a breakdown of the key components:
- Protein Sources:
The main ingredient of protein chips is, unsurprisingly, protein. You can use:- Whey Protein Isolate: Popular for its smooth consistency and neutral flavor.
- Pea Protein Powder: A vegan option rich in essential amino acids.
- Egg Whites: Great for a natural source of protein and easy to whip into a batter.
- Soy Protein: High in protein with a slightly nutty flavor.
- Binding Agents:
To hold your mixture together, you’ll need binders like:- Eggs or Egg Replacer: Works well with most recipes and adds extra protein.
- Nut or Seed Flours: Almond or flaxseed meal can help with texture and consistency.
- Psyllium Husk Powder: Gluten-free and perfect for achieving a cohesive dough.
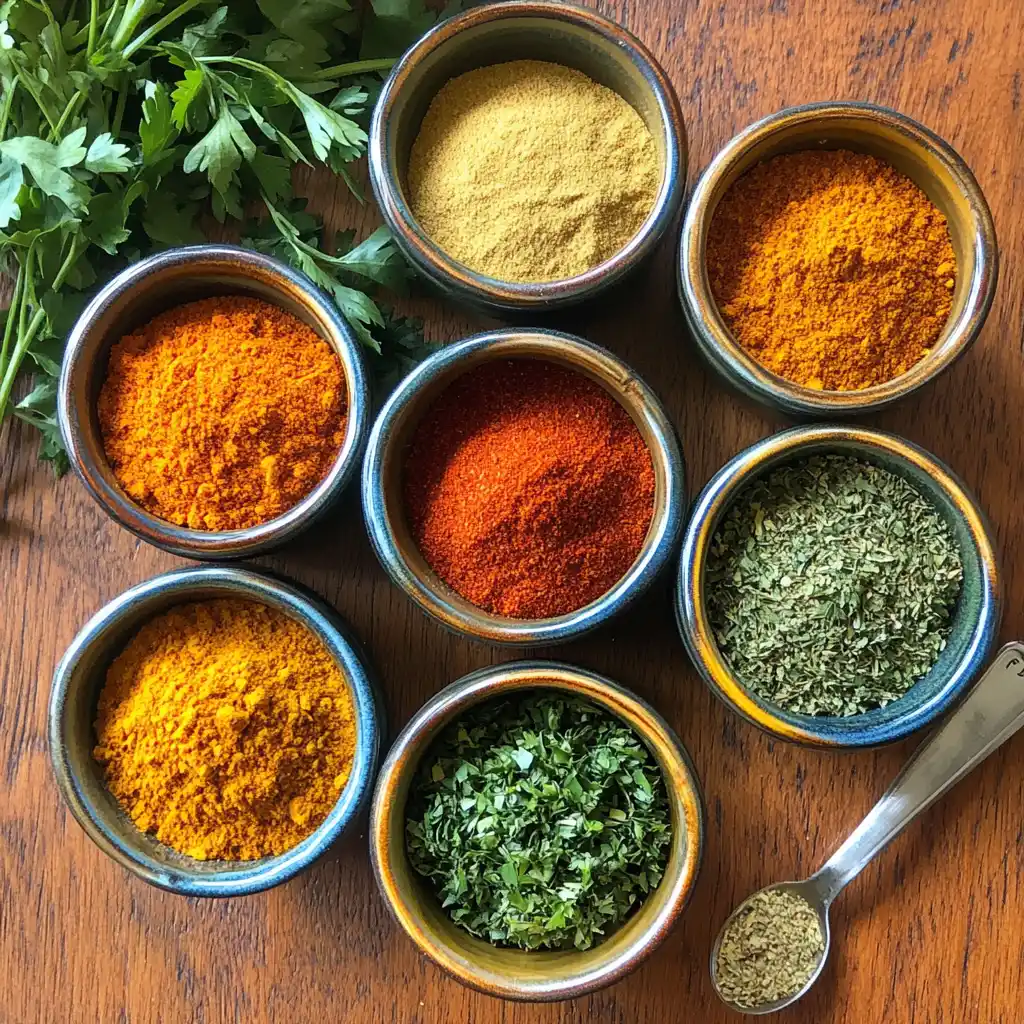
- Seasoning and Flavoring:
The seasoning can make or break your chips. Popular choices include:- Spices: Paprika, garlic powder, onion powder, or cayenne for savory chips.
- Herbs: Dried parsley, oregano, or basil for a herby flavor.
- Cheese Powders: Parmesan or nutritional yeast for a cheesy twist.
- Sweeteners: Stevia or a touch of honey for sweet protein chips.
- Liquid Ingredients:
You’ll need a small amount of liquid to bind everything and create the right consistency:- Water or Broth: Adds moisture without overpowering the flavors.
- Milk (Dairy or Non-Dairy): Enhances creaminess.
Nutritional Considerations How to Make Protein Chips at Home
When crafting homemade protein chips, it’s important to strike a balance between taste and health benefits. Consider the following tips:
- High Protein-to-Carb Ratio: Use protein-dense ingredients and minimize fillers like starches.
- Low Fat Content: Avoid adding too much oil; a light spray before baking is usually sufficient.
- Add Fiber: Incorporate chia seeds, flaxseeds, or psyllium husk for extra fiber.
- Monitor Sodium Levels: Season carefully to prevent overly salty chips.
Essential Equipment How to Make Protein Chips at Home
Heading 3: Tools Needed for Preparation
To make protein chips, you don’t need any fancy gadgets. These basic tools will do the job:
- Mixing Bowls: For combining your ingredients thoroughly.
- Baking Sheets: Non-stick sheets ensure your chips bake evenly.
- Parchment Paper or Silicone Mats: Prevents sticking without the need for excess oil.
- Food Processor or Blender: Ideal for achieving a smooth batter or dough.
- Rolling Pin or Spatula: Helps shape your chips uniformly.
- Sharp Knife or Pizza Cutter: For slicing the chips into even shapes.
Alternatives for Specialized Equipment
If you lack some equipment, here are a few creative substitutes:
- No rolling pin? Use a clean glass bottle to roll out the dough.
- No food processor? Mix the batter by hand or use a whisk for smaller batches.
- No parchment paper? Grease the baking sheet lightly with a healthy oil alternative like coconut or avocado oil.
With these ingredients and tools ready, you’re set to begin creating your homemade protein chips. The next step is putting everything together stay tuned for the step-by-step guide!
Step-by-Step Guide
Choosing Your Protein Source
Selecting the right protein source is critical for both taste and texture. Consider the following factors:
- Whey Protein: Offers a neutral base, making it versatile for various flavors. Choose unflavored whey for savory chips and flavored options like vanilla or chocolate for sweet variations.
- Vegan Protein (Pea, Soy, or Brown Rice): Provides plant-based options with slightly earthy flavors. Adjust seasoning to balance the natural taste.
- Egg Whites: A whole-food protein source that’s easy to whip into a light, airy batter.
Pro Tip: Avoid protein powders with excessive sweeteners or additives, as they may alter the flavor or consistency of your chips.https://royalesrecipes.com/how-to-choose-protein-chips/
Mixing the Ingredients

Here’s how to prepare the chip mixture:
- Combine Dry Ingredients: In a large mixing bowl, add your protein source, binding agent, and seasoning. For example:
- 1 cup protein powder.
- 2 tablespoons almond flour (for texture).
- 1 teaspoon garlic powder and paprika (for flavor).
- Incorporate Liquid Ingredients: Gradually add water, broth, or milk, stirring until the mixture reaches a dough-like consistency. Avoid adding too much liquid, as the mixture should be thick but pliable.
- Start with 3 tablespoons of liquid and increase as needed.
- Optional Add-ins: Add shredded cheese, herbs, or seeds for extra flavor and nutritional benefits.
Pro Tip: Taste-test your mixture before baking to adjust seasoning levels.
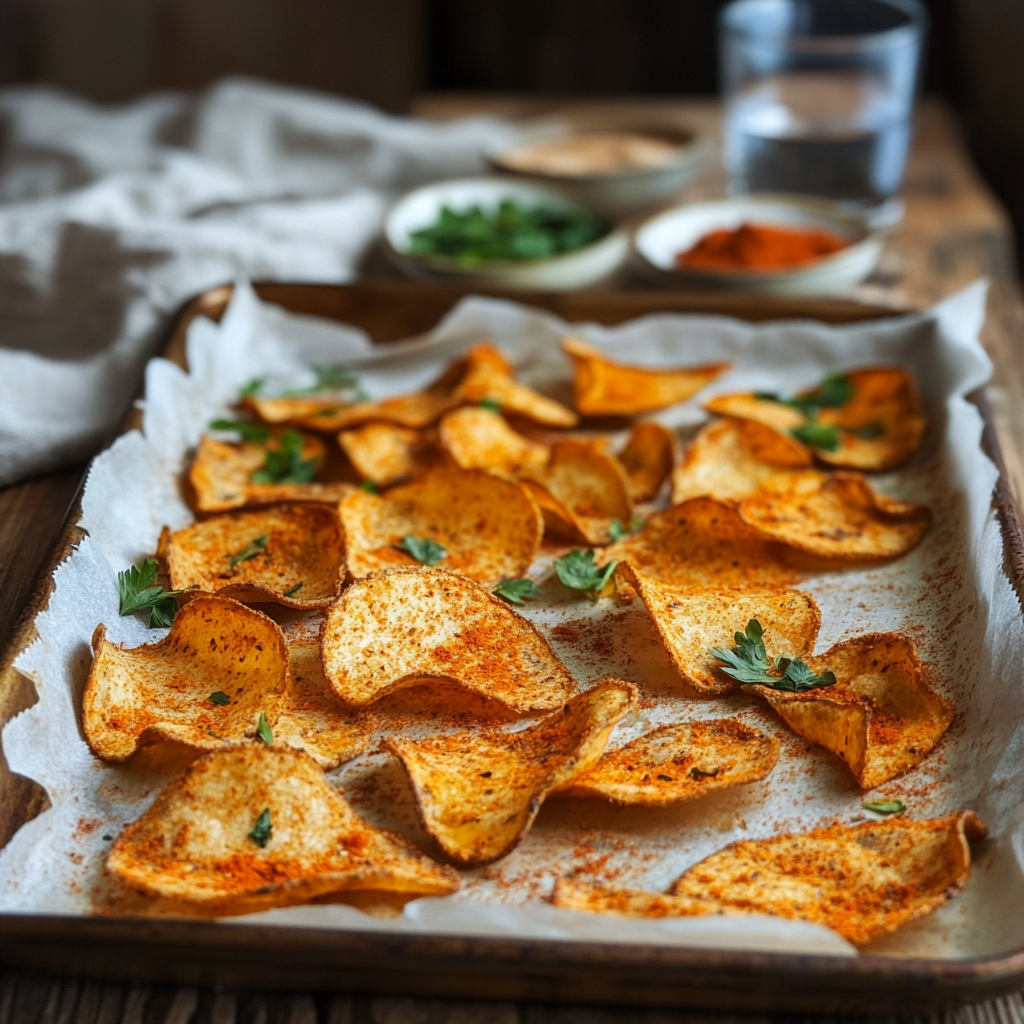
Shaping the Chips
The shape and size of your chips affect their crispiness and ease of eating. Follow these steps:
- Prepare Your Surface: Line a baking sheet with parchment paper or a silicone mat.
- Spread the Mixture: Use a rolling pin or spatula to flatten the dough evenly. Aim for a thickness of about 1/8 inch to ensure crispness.
- Cut into Shapes: Use a knife, pizza cutter, or cookie cutter to create uniform shapes. Triangles, squares, or rounds work best.
Pro Tip: Uniform thickness ensures even cooking, preventing burnt edges or undercooked centers.
Baking or Frying
There are two main cooking methods for protein chips, each with unique advantages:
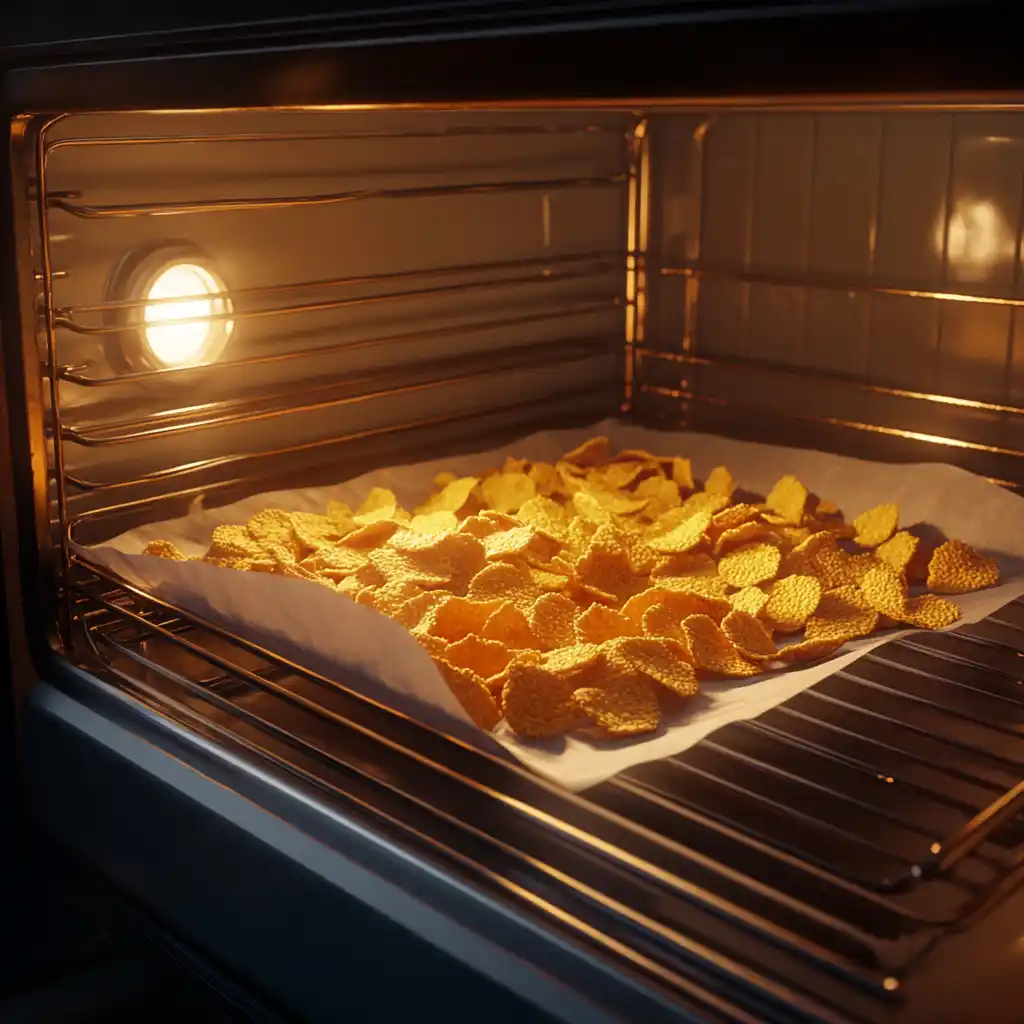
- Baking:
- Preheat the Oven: Set it to 350°F (175°C).
- Bake the Chips: Arrange the cut shapes on a baking sheet, leaving a small gap between each. Bake for 10–15 minutes, flipping halfway through to ensure even browning.
- Cool Before Serving: Allow the chips to cool completely for maximum crispiness.
- Frying:
- Heat Oil: Use a high-smoke-point oil like avocado or coconut oil. Heat it in a pan or deep fryer.
- Fry the Chips: Cook each chip until golden brown, about 1–2 minutes per side.
- Drain Excess Oil: Place the chips on a paper towel to remove excess oil.
Pro Tip: Baking is a healthier option, while frying yields extra crunch. Choose based on your preference.
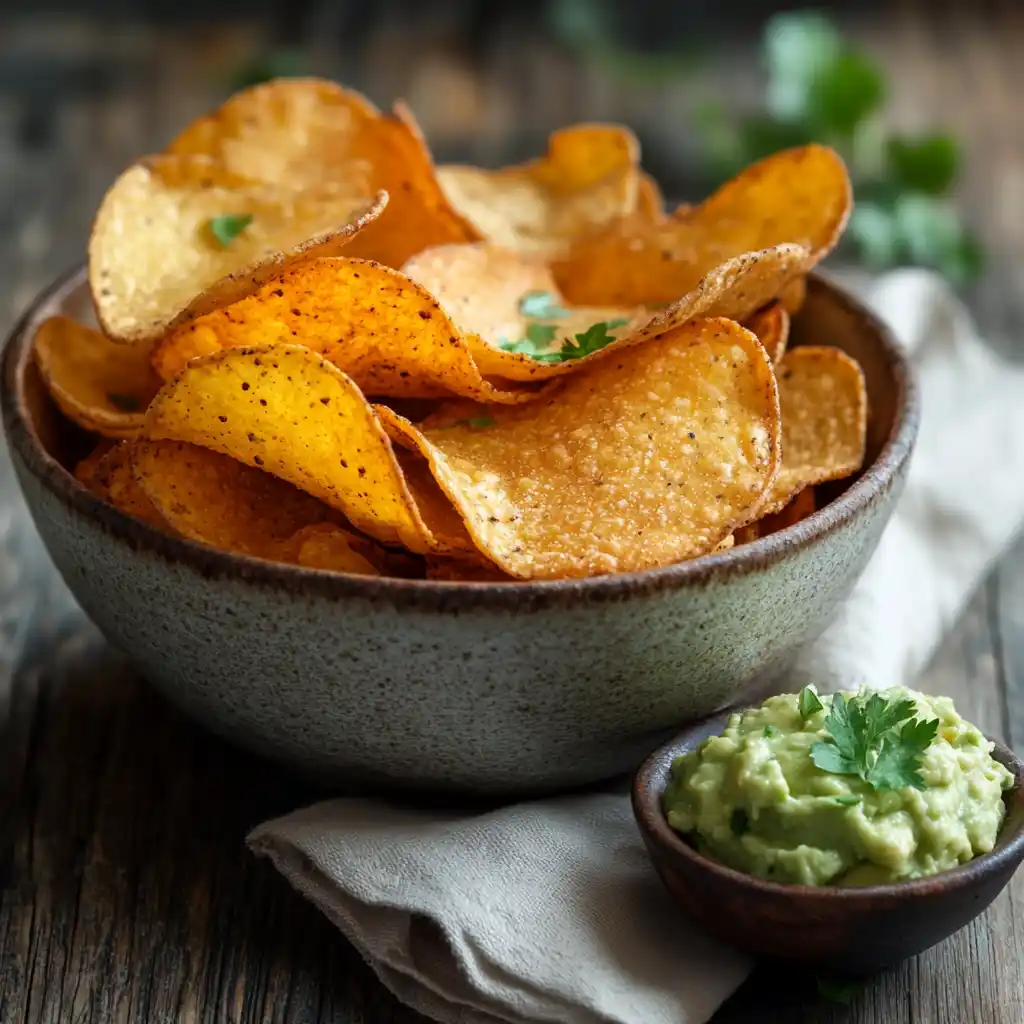
Cooling and Storing How to Make Protein Chips at Home
Proper cooling and storage are key to keeping your protein chips fresh and crispy:
- Cool on a Rack: Transfer baked or fried chips to a wire rack to cool completely. This prevents sogginess caused by trapped steam.
- Store in an Airtight Container: Keep the chips in a sealed container to maintain crispiness. Add a silica gel packet to absorb moisture if needed.
- Shelf Life: Homemade protein chips typically last 3–5 days at room temperature.
With these steps, you can enjoy a batch of crispy, protein-packed chips in no time. Ready to explore how to customize flavors?
Flavor Customization How to Make Protein Chips at Home
Popular Flavor Ideas
Homemade protein chips are incredibly versatile, allowing you to experiment with a variety of flavors. Here are some popular options:
- Savory Options:
- Spicy Chili Lime: Combine chili powder, lime zest, and a pinch of cayenne pepper.
- Garlic Parmesan: Add garlic powder and sprinkle grated Parmesan before baking.
- Herb and Onion: Use dried parsley, oregano, and onion powder for a herby kick.
- Cheesy Variations:
- Classic Cheddar: Blend shredded cheddar cheese or cheese powder into the dough.
- Nutritional Yeast: A vegan alternative that mimics a cheesy flavor.
- Sweet Options:
- Cinnamon Sugar: Mix cinnamon with a sugar substitute like stevia or erythritol.
- Vanilla Almond: Add vanilla extract and a hint of almond flour for a subtle sweetness.
Pro Tip: Start with a base recipe and test small batches with different seasonings to find your favorite combinations.
Adding Nutritional Value How to Make Protein Chips at Home
Boost the health benefits of your chips by incorporating nutrient-dense ingredients:
- Fiber: Add chia seeds or ground flaxseeds for extra fiber, which promotes satiety and digestive health.
- Antioxidants: Sprinkle in turmeric or paprika for an anti-inflammatory boost.
- Healthy Fats: Use almond or coconut flour for added healthy fats without compromising texture.
- Superfoods: Incorporate spirulina or maca powder for an extra nutrient punch.
Pro Tip: Keep track of ingredient ratios to ensure the dough maintains the right consistency. Too much of certain additions can make it crumbly or overly wet.https://thebigmansworld.com/protein-chips/
Tips for Success How to Make Protein Chips at Home
Common Mistakes to Avoid
- Overmixing the Dough: Mixing too much can result in a dense, tough texture. Stop as soon as the dough is combined.
- Uneven Thickness: Chips that are too thick may stay soft, while thinner edges can burn. Aim for uniformity when rolling out the dough.
- Skipping Preheating: Ensure the oven is fully preheated before baking to achieve consistent results.
Pro Tip: Use a rolling pin with adjustable guides or spacers to create perfectly even dough.
How to Achieve the Perfect Texture
- Liquid Ratios: Start with small amounts of liquid and adjust gradually. The dough should hold together but not be sticky.
- Baking Time: Keep an eye on the chips as they bake, especially during the final minutes. Overbaking can lead to bitterness.
- Post-Baking Drying: If the chips feel soft after baking, leave them in the oven with the heat turned off for 5–10 minutes to dry out fully.
Pro Tip: For extra crispy chips, bake at a lower temperature (around 300°F/150°C) for a longer time.
With these tips and flavor ideas, your protein chips can be customized to suit any craving or dietary preference.
Flavor Customization
Popular Flavor Ideas
Homemade protein chips are incredibly versatile, allowing you to experiment with a variety of flavors. Here are some popular options:
- Savory Options:
- Spicy Chili Lime: Combine chili powder, lime zest, and a pinch of cayenne pepper.
- Garlic Parmesan: Add garlic powder and sprinkle grated Parmesan before baking.
- Herb and Onion: Use dried parsley, oregano, and onion powder for a herby kick.
- Cheesy Variations:
- Classic Cheddar: Blend shredded cheddar cheese or cheese powder into the dough.
- Nutritional Yeast: A vegan alternative that mimics a cheesy flavor.
- Sweet Options:
- Cinnamon Sugar: Mix cinnamon with a sugar substitute like stevia or erythritol.
- Vanilla Almond: Add vanilla extract and a hint of almond flour for a subtle sweetness.
Pro Tip: Start with a base recipe and test small batches with different seasonings to find your favorite combinations.
Adding Nutritional Value
Boost the health benefits of your chips by incorporating nutrient-dense ingredients:
- Fiber: Add chia seeds or ground flaxseeds for extra fiber, which promotes satiety and digestive health.
- Antioxidants: Sprinkle in turmeric or paprika for an anti-inflammatory boost.
- Healthy Fats: Use almond or coconut flour for added healthy fats without compromising texture.
- Superfoods: Incorporate spirulina or maca powder for an extra nutrient punch.
Pro Tip: Keep track of ingredient ratios to ensure the dough maintains the right consistency. Too much of certain additions can make it crumbly or overly wet.
Tips for Success How to Make Protein Chips at Home
Common Mistakes to Avoid How to Make Protein Chips at Home
- Overmixing the Dough: Mixing too much can result in a dense, tough texture. Stop as soon as the dough is combined.
- Uneven Thickness: Chips that are too thick may stay soft, while thinner edges can burn. Aim for uniformity when rolling out the dough.
- Skipping Preheating: Ensure the oven is fully preheated before baking to achieve consistent results.
Pro Tip: Use a rolling pin with adjustable guides or spacers to create perfectly even dough.
How to Achieve the Perfect Texture How to Make Protein Chips at Home
- Liquid Ratios: Start with small amounts of liquid and adjust gradually. The dough should hold together but not be sticky.
- Baking Time: Keep an eye on the chips as they bake, especially during the final minutes. Overbaking can lead to bitterness.
- Post-Baking Drying: If the chips feel soft after baking, leave them in the oven with the heat turned off for 5–10 minutes to dry out fully.
Pro Tip: For extra crispy chips, bake at a lower temperature (around 300°F/150°C) for a longer time.
With these tips and flavor ideas, your protein chips can be customized to suit any craving or dietary preference.
Conclusion
Making protein chips at home is a rewarding way to enjoy a nutritious, customizable snack tailored to your dietary needs and preferences. Unlike store-bought options, homemade protein chips allow you to control the ingredients, flavor profiles, and overall nutritional content, ensuring a guilt-free indulgence.
With a variety of protein sources to choose from like whey, pea protein, or egg whites you can craft chips that align with vegan, keto, or gluten-free diets. The process is simple, requiring just a few basic tools and pantry staples, making it accessible for anyone. Plus, the opportunity to experiment with unique flavors and nutritional add-ins means you can enjoy something new with every batch.https://royalesrecipes.com/healthy-protein-chips-best-snack-for-every-diet/
Whether you prefer savory options like garlic Parmesan or spicy chili lime, or even sweet treats like cinnamon sugar, the possibilities are endless. By following the outlined tips for success, such as achieving uniform thickness and proper storage, you can ensure your chips turn out perfectly crispy every time.
Protein chips are not just a snack they’re a convenient way to fuel your body with the protein it needs, making them ideal for fitness enthusiasts, busy professionals, or anyone looking for a healthier alternative to traditional chips. So, roll up your sleeves, gather your ingredients, and enjoy the satisfaction of creating your own high-protein masterpiece at home.